In this tutorial , you will learn a very short and simple method on how to add subjects to Silhouette image in Photoshop so just follow the steps mentioned below and learn how to create it for yourself . So let's get started!

Download Photoshop :- https://prf.hn/l/OVRDLJm
Equipment I use :-
Primary Laptop :- https://amzn.to/3BLqADZ
Secondary Laptop :- https://amzn.to/3wryYWo
Mouse :- https://amzn.to/3zsnuCH
Silhouette Image Download Link :- https://www.pexels.com/photo/landscape-nature-sky-sunset-36744/
Subject Image Download Link :- https://www.pexels.com/photo/blonde-hair-blur-daylight-environment-214574/
Final Image PSD Download Link :- https://drive.google.com/open?id=1UcoXwIRRUiVJw212zC_qyfrg0xjwBabu
Youtube Video :-
Steps on how to Add Subject to Silhouette Image in Photoshop :-
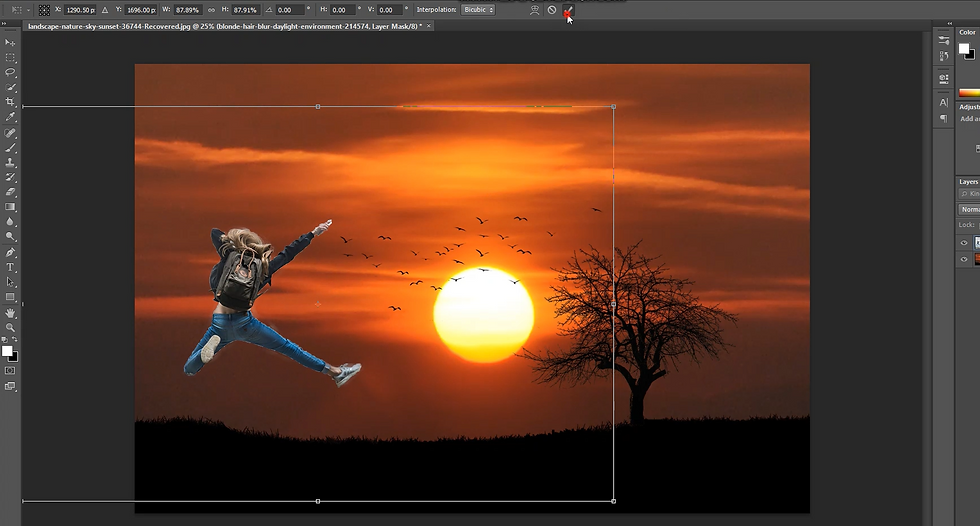
So the first step is to open the image where subject is present over the silhouette image


Then select the subject in the image using Quick selection tool

Now select the subject in the image using Quick selection tool (Note :- Press ALT and click and hover over parts to deselect a selection )


Then click on Refine edge and then hover over the edges and hair for proper selection of hair and smooth selection of edges and then click on OK


Now after the selection click on Add layer mask icon which will remove the rest of the image keeping only current selection


Then place the image properly using move tool


Now even if you want to change the size of the subject then press CTRL + T and then scale the image and press SHIFT while scaling to scale evenly and after scaling click on Tick icon

Now click on Create new fill or adjustment layer icon and select Hue / Saturation over there


Then in the pop up click on Create clipping mask icon so that it only affect one layer below it and not the rest of the layers

Now reduce the lightness according to the darkness you want to give to the subject

So this will add subject to the silhouette image

So that's it guys! So now if you guys liked this short and simple tutorial then hit the like button also share it to the ones who might be interested in such tutorials!
Youtube Video :-
Comments